
How to Send Email in WordPress Using the Gmail SMTP Server
Source: https://www.wpbeginner.com/plugins/how-to-send-email-in-wordpress-using-the-gmail-smtp-server/
Sending emails from your WordPress site can be tricky. This is often because the default PHP mail function is restricted by some servers.
While there are lots of SMTP plugins available, the Gmail SMTP server is a good option if you are looking for a simple solution. We have used it before to send emails and believe that it is a great choice for bloggers and small businesses.
In this article, let’s learn how to set up Gmail SMTP on your WordPress site.
Why and When You Need Gmail SMTP Server for WordPress Emails
Your WordPress site sends emails to notify you of new user registration, lost password reset, automatic updates, and notifications from your contact forms.
By default, WordPress uses the PHP mail function to send out email notifications. However, this function doesn’t work as expected for several reasons.
Most WordPress hosting companies restrict usage of this function to prevent abuse and spam.
Spam filters on popular email service providers check incoming emails to monitor if they are sent from authentic mail servers. Sometimes, the default WordPress emails might fail this check and not even make it to the spam folder.
SMTP (Simple Mail Transfer Protocol) is the industry standard for sending emails. Unlike the PHP mail function, SMTP uses proper authentication, which increases email deliverability.
Gmail provides an SMTP service that you can use to send out emails from your WordPress site. Their servers are the best option if you just want to send WordPress notification emails to yourself and a few users on your site.
However, if you want to send newsletter emails or have an online store, then you should use a mass emailing service provider, like Brevo (formerly Sendinblue) or Mailgun.
Free vs. Paid Gmail SMTP Service for WordPress
You can use your free Gmail account to send out WordPress emails. However, for better deliverability, we recommend using the paid Google Workspace.
With Google Workspace, you get your own professional branded email address, such as [email protected].
Google Workspace requires you to add MX records to your domain name. This means that your emails will appear to be coming from your domain name, which helps boost authenticity and ensure better deliverability.
If you’d prefer written instructions, just keep reading. Here’s a quick overview of all the methods we’ll cover in this guide:
Ready? Let’s get started.
How to Send WordPress Emails Using Gmail SMTP Server
If you decide to use Google Workspace, then you first need to set up your domain to work with Google Apps. We have a step-by-step tutorial on how to set up a professional email address with Google Workspace.
The rest of the instructions are the same whether you are using a paid or free Gmail account.
The first thing you need to do is install and activate the WP Mail SMTP plugin. For more details, see our step-by-step guide on how to install a WordPress plugin.
WP Mail SMTP is the best WordPress SMTP plugin on the market. It allows you to easily use any SMTP server to send WordPress emails with higher deliverability.
While there is a free version, we recommend buying the paid version called WP Mail SMTP Pro, which gives you access to premium support, more mailers, and a white glove set up by one of their experts.
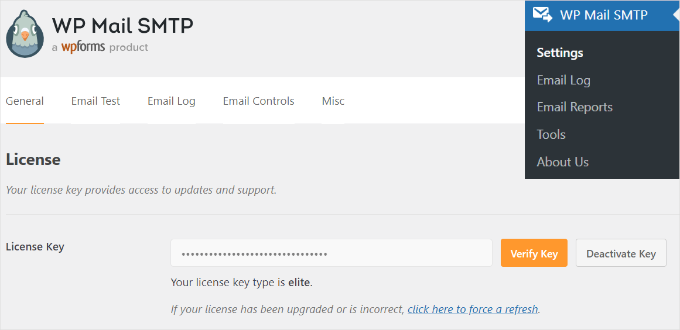
Upon activation, you need to visit the Settings » WP Mail SMTP section to configure the plugin settings. Then, simply enter your license key and click the ‘Verify Key’ button. You can find the key in your WP Mail SMTP account area.
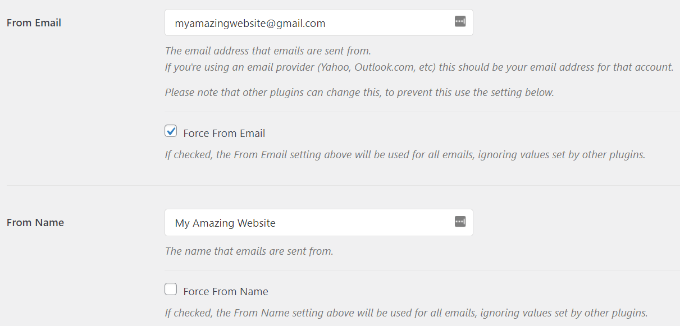
Under the ‘General’ settings tab, you need to make sure that you use your Gmail email address in the ‘From Email’ field.
Next, you need to provide the sender’s name.
WP Mail SMTP plugin offers 3 ways to connect your WordPress site to the Gmail servers:
The first method uses a one-click install, which is the easiest and most beginner-friendly but is only available for premium plugin users.
The second method uses OAuth Authentication. This method is secure and doesn’t require a premium plugin.
The third method is to manually enter Gmail SMTP settings. In general, we don’t recommend this method because it’s less secure.
With that in mind, let’s set up WordPress to use Gmail SMTP for sending emails.
Method 1: Setting Up Gmail to Send WordPress Emails Using One-Click Install
This method is the quickest and easiest for everyone, meaning it can help you save time and confusion.
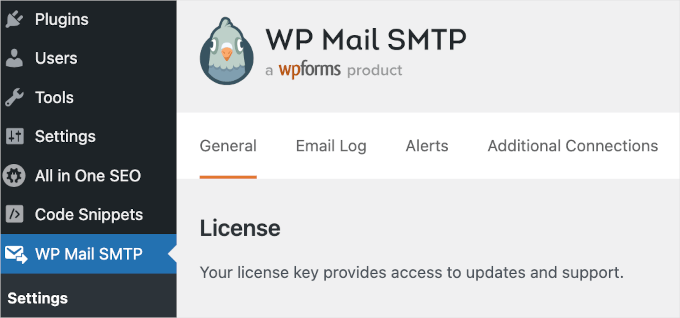
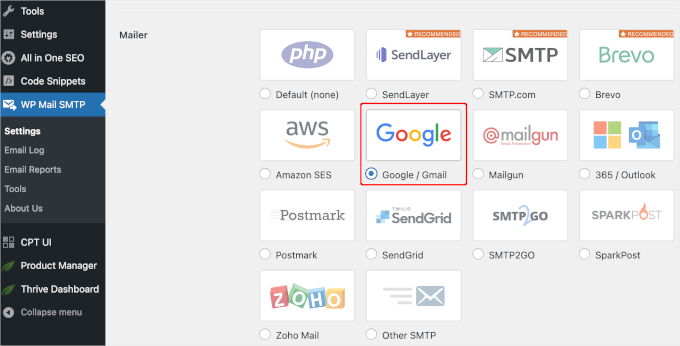
After installing and activating the WP Mail SMTP plugin, let’s navigate to WP Mail SMTP » Settings and make sure you’re in the ‘General’ tab.
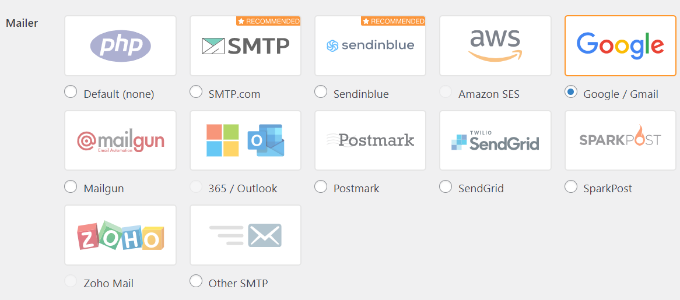
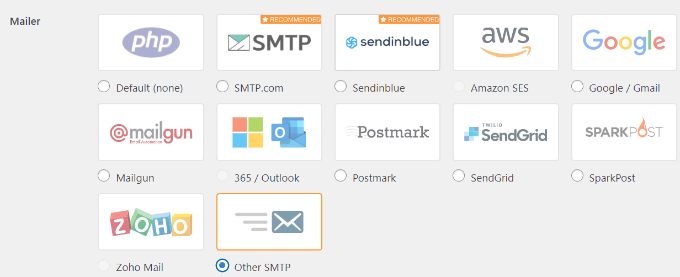
Then, you’ll need to choose ‘Google / Gmail’ under the ‘Mailer’ section.
This will let you use the ‘One-Click Setup’ option.
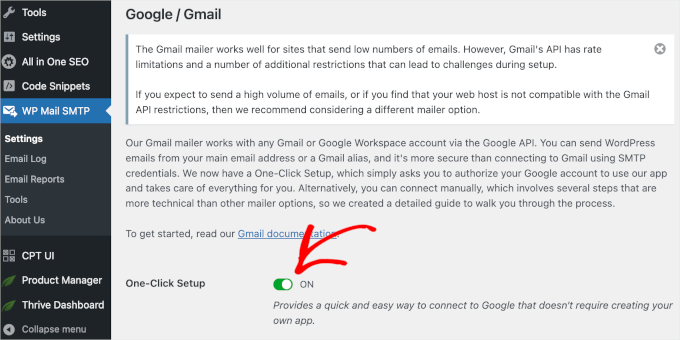
With that done, the next step is to authorize your Google account.
You’ll see a ‘Google / Gmail’ section below ‘Mailer’ on your screen. Go ahead and click the switch to turn on the one-click install feature.
Then, you might see a notification that says you need to save the changes first to continue the authorization process.
So, let’s click the ‘Save Settings’ button.
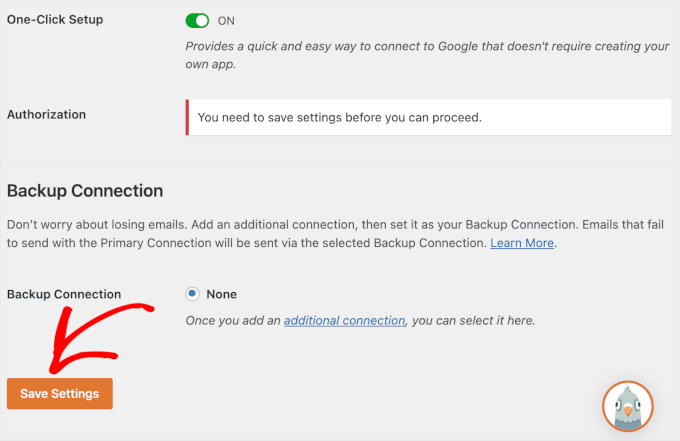
After that, you should be able to continue the process.
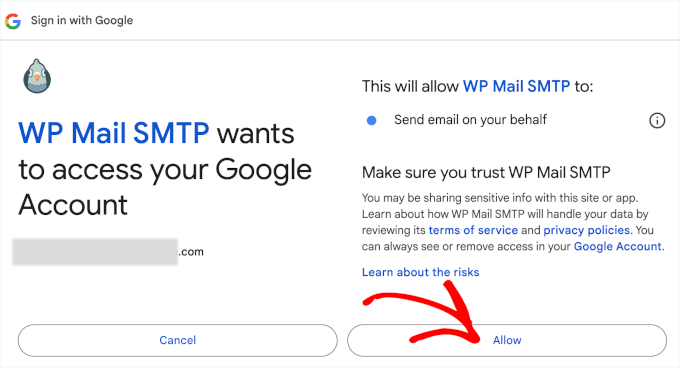
You’ll be prompted to sign in to your Google Account. Simply click the ‘Sign in to Google’ button and choose an account.

Then, Google will ask your permission for WP Mail SMTP to send emails on your behalf.
You can click ‘Allow’ to continue.
After clicking the button, you’ll be redirected back to the WP Mail SMTP’s ‘General’ tab in your WordPress admin area.
From here, you’ll want to scroll down to the ‘Authorization’ section to see the Gmail account you set up is successfully connected.
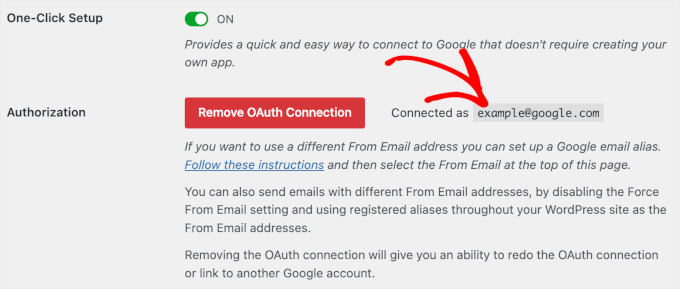
That’s it! You’ve successfully connected your Gmail account to WP Mail SMTP using the One-Click Setup method!
Method 2: Setting Up Gmail to Send WordPress Emails Using OAuth Protocol
This method is a great option if you’re using a free version of the WP Mail SMTP plugin. It’s secure, and once you set it up, you’ll never have to do it again.
You need to start by selecting ‘Google/ Gmail’ as your mailer.
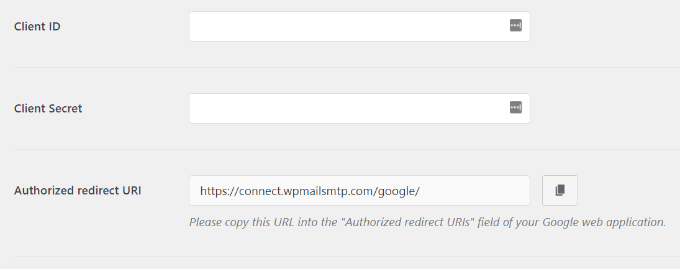
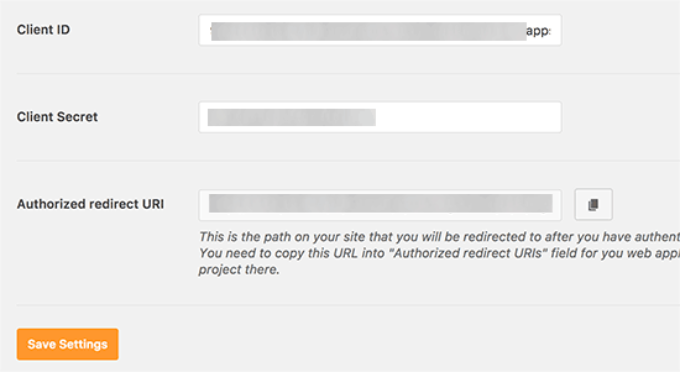
Next, you will see three fields you need to fill in when you scroll down.
Just fill out the ‘Client ID,’ ‘Client Secret,’ and ‘Authorized Redirect URI‘ fields when you’re there.
Let’s set up these fields.
Creating an App and Generate API Keys for Gmail
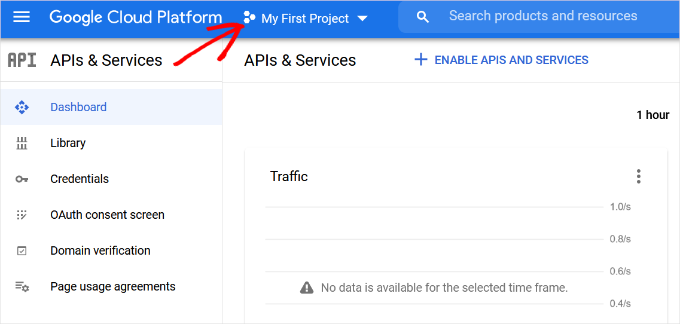
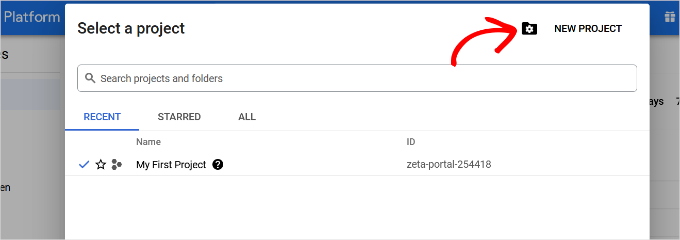
To start, simply visit the Google Cloud Platform website and then click on ‘My First Project’ at the top.
A small popup window will open where you can select your projects.
Go ahead and click on the ‘New Project’ option.
On the next screen, you’ll be asked to provide a name for your project.
We recommend giving it a memorable name so that you can easily recognize it in the future.

After that, let’s click the ‘Create’ button to continue.
The developer console will now create your project and take you to its dashboard. Google offers developers access to many of their APIs and services. You need to enable the APIs that you will need for this project.
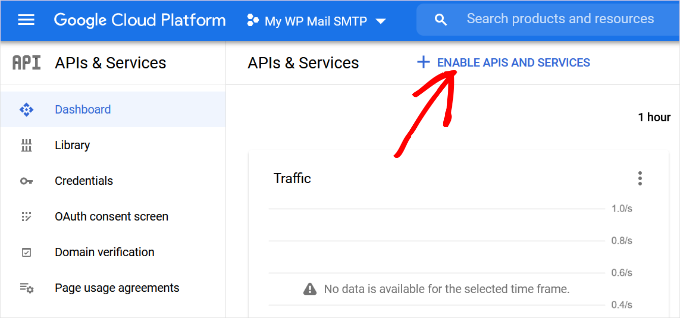
Simply click the ‘Enable APIs and Services’ button to continue.
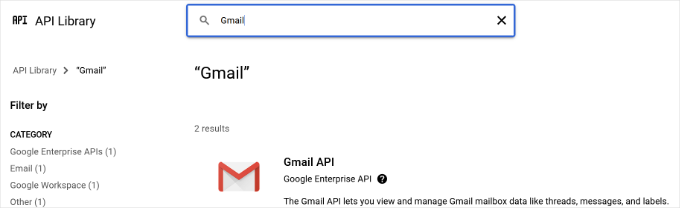
This will bring you to the APIs library page.
From here, you can type Gmail in the search box to quickly find the Gmail API and click to select it.
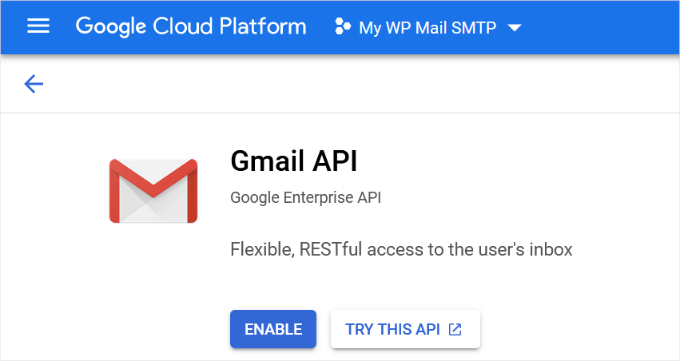
You will now see an overview of the API and what it can do.
Simply click on the ‘Enable’ button to continue.
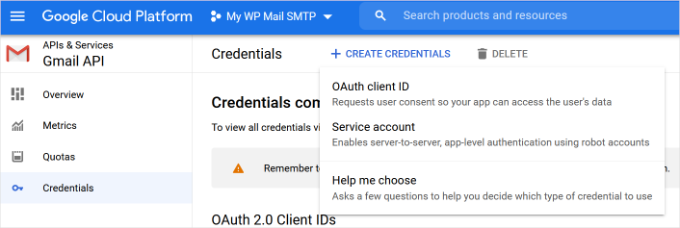
Now that your API is enabled, the next step is to create credentials that you can use in your WP Mail SMTP plugin settings.
You’ll want to click the ‘+ Create Credentials’ button to continue and select the ‘Help me choose’ option from the dropdown menu.
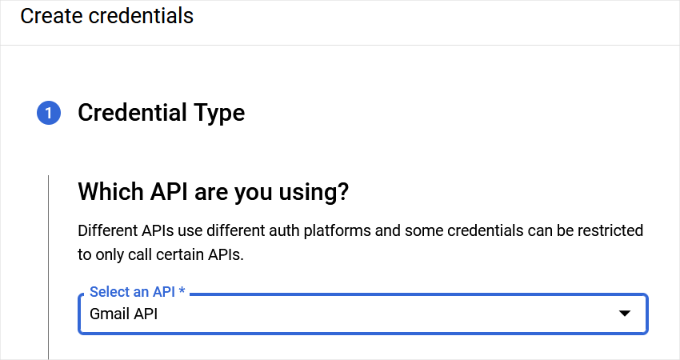
On the next screen, it’ll ask you which API you want to use.
Go ahead and select ‘Gmail API’ from the dropdown menu for ‘Which API you are using?’
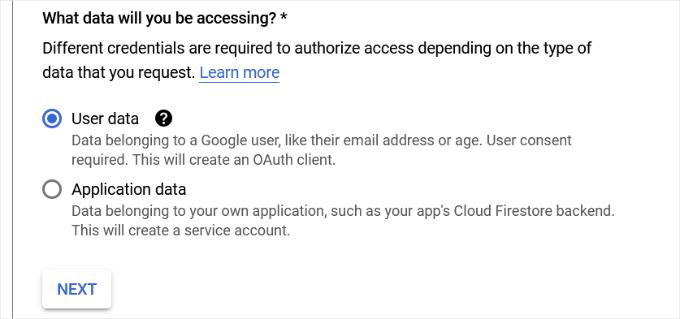
After that, you’ll choose ‘User data’ for the ‘What data you will be accessing?’ field.
With that done, go ahead and click the ‘Next’ button.
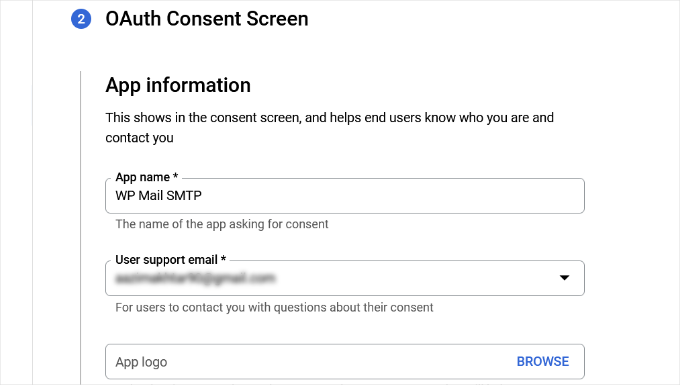
Now, you’ll need to enter your app’s information.
You can start by giving a name for your app, selecting the email address you provided, and adding an app logo if you want.
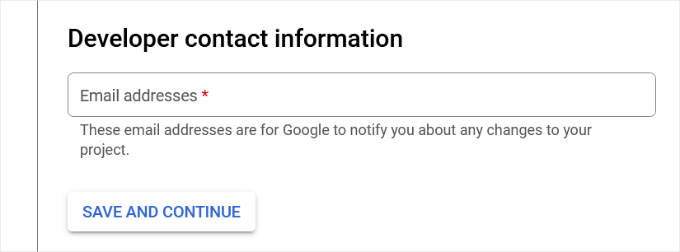
From there, you’ll need to scroll down and enter a developer’s contact information.
Once you’ve entered the email address, simply click the ‘Save and Continue’ button.
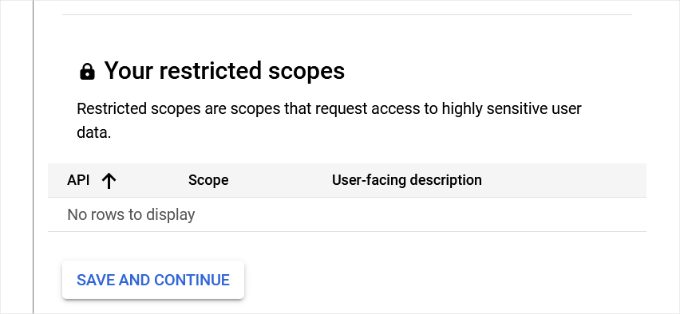
On the next screen, you can configure the ‘Scopes’ for Gmail API. This is an optional step, and you can skip this for now.
Simply scroll down to the bottom of the page and click the ‘Save and Continue’ button.
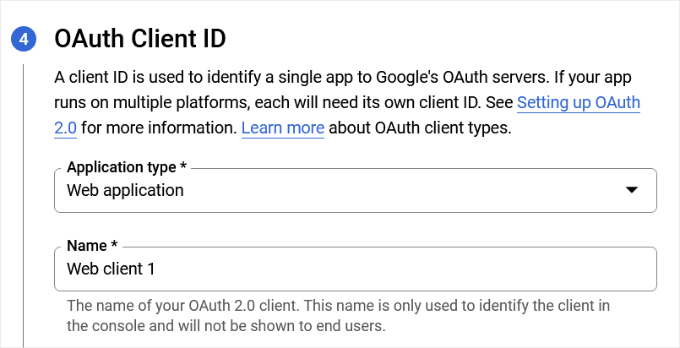
Next, go ahead and enter details for the ‘OAuth Client ID’ section.
You can start by choosing ‘Web Application’ as the ‘Application type’ from the dropdown menu and then enter a name.
When you scroll down, you’ll see options for ‘Authorized JavaScript’ origins. You can skip this and head over to ‘Authorized redirect URIs.’
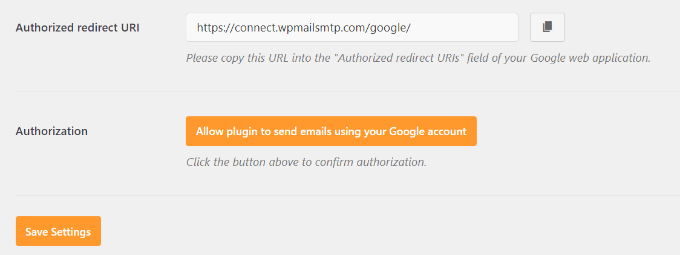
Go ahead and click the ‘+ Add URL’ button under ‘Authorized redirect URIs’ and enter https://connect.wpmailsmtp.com/google/ under the ‘URIs’ field.
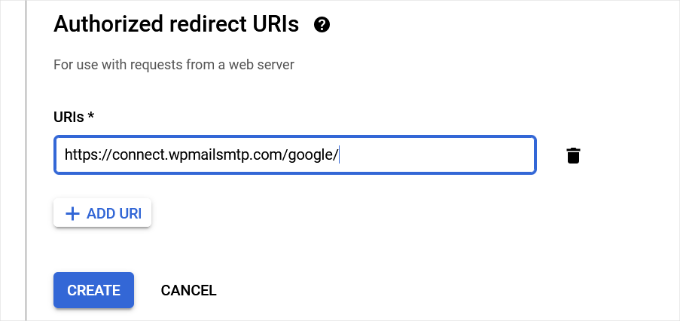
Once you’ve entered the URL, simply click the ‘Create’ button.
Next, you’ll see your credentials under the ‘Your Credentials’ area.
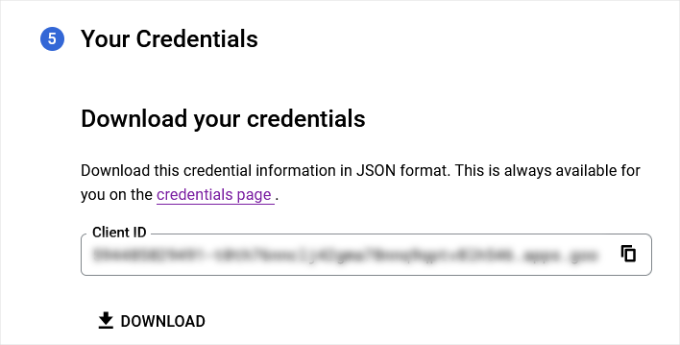
Go ahead and click the ‘Done’ button at the bottom to move on.
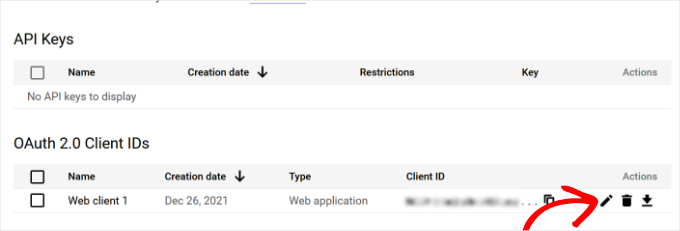
You will now be taken to your project’s credentials page.
On this page, you can see your recently created credentials listed here. You need to click on the edit icon next to your credentials to continue.
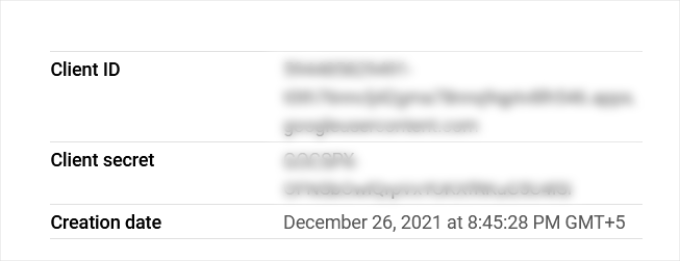
This will bring you to the edit credentials page, where you will be able to see your client secret and client ID.
All you have to do is copy and paste the key into your plugin’s settings page.
Once done, you can return to the plugin’s settings page in your WordPress admin area.
Now that you have both client ID and client secret keys, you need to click on the ‘Save Settings’ button to continue.
The plugin will now store your settings and reload the page.
After that, you need to scroll down to the bottom of the settings page and click on the ‘Allow plugin to send emails using your Google account’ button.
This will take you to your Google account.
Then, you will be asked to give the website permission to send emails on your behalf.
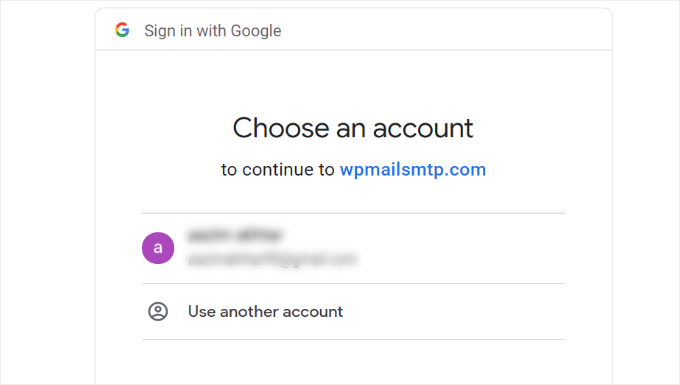
Simply select your Gmail account and give permission to link your Google API project.
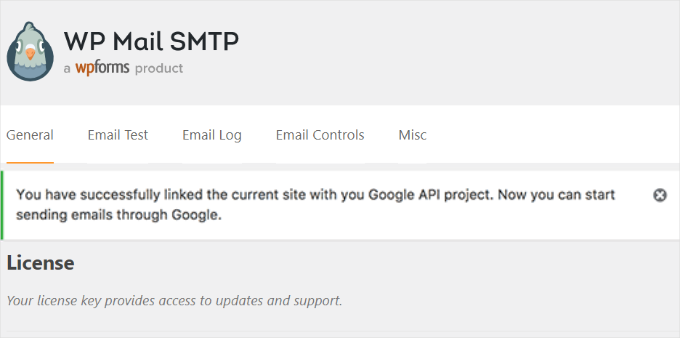
After that, you will be redirected back to your website, where you will see a success message.
Method 3: Setting Up Gmail SMTP as SMTP Sender
This method allows you to manually connect to Gmail’s SMTP servers to send your WordPress emails.
First, you’ll want to head over to Settings » WP Mail SMTP from your WordPress admin area to configure the plugin settings.
From here, you can start by providing the Gmail address you want to use in the ‘From Email’ field and your name in the From ‘Name’ field.
Next, let’s select ‘Other SMTP’ as your mailer.
Also, you’ll want to check the box next to the return path.
After that, you can scroll down to the ‘Other SMTP’ section.
This is where you’ll configure more settings to connect to Gmail’s SMTP servers.
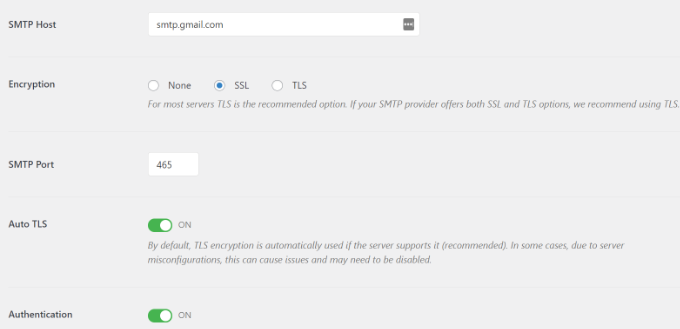
Here is the exact configuration you need to add to the plugin settings:
SMTP Host: smtp.gmail.com
Encryption: Use SSL encryption
SMTP Port: 465 (this should automatically appear when you select SSL encryption)
Auto TLS: Turn off TLS
Authentication: Turn on authentication
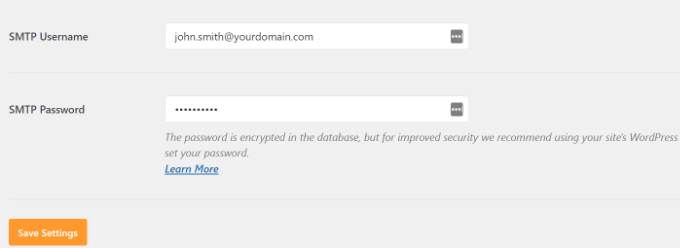
SMTP Username: Your complete Gmail address, e.g. [email protected] or [email protected]
SMTP Password: Password of your Gmail account
Once you are done, go ahead and click the ‘Save Changes’ button to store your settings.
That’s all; you have successfully set up WP Mail SMTP to use Gmail SMTP servers.
Testing Your WP Mail SMTP Settings
WP Mail SMTP plugin allows you to test your email settings so you can make sure that everything is working properly.
You need to navigate to Settings » WP Mail SMTP and click on the ‘Email Test’ tab.
After that, simply provide an email address you can access in the ‘Send To’ field and then click the ‘Send Email’ button.
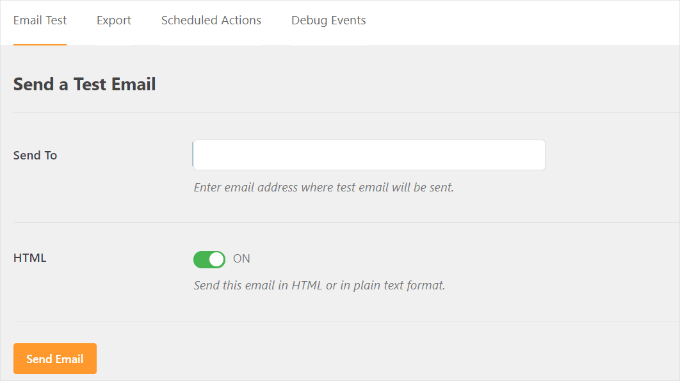
You should then see a success message.
To make sure, you can check your inbox to see a message with the subject line ‘WP Mail SMTP: Test Email to…’.
That’s all; you have successfully set up your WordPress site to send emails using Gmail SMTP servers.
Get More With WP Mail SMTP Pro
If you want even more functionality, you should try WP Mail SMTP Pro. With the Pro version of the plugin, you can connect with:
Google Workspace/Gmail
Amazon SES
Mailgun
Office 365 / Outlook.com
SendGrid
And more
You also get additional features like email logs, the ability to fine-tune or control which notification your WordPress site sends, and more.
Troubleshooting Gmail SMTP Not Working Issues
We have seen users encounter a few issues when using Gmail SMTP with certain shared hosting configurations.
You can take the following steps to fix the Gmail SMTP issue:
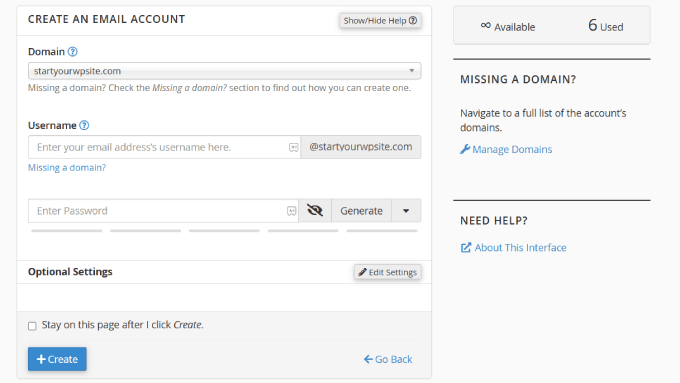
First, you’ll need to log in to your cPanel account. From here, you’ll want to find the ‘+ Create’ button on the email accounts page.
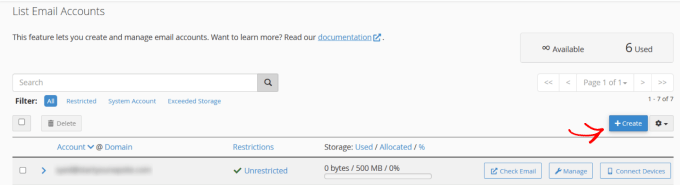
Simply create an email account that matches your Google Apps email address.
By creating the email account, you’re essentially making your hosting server aware of an email address that should be sending emails. This step is a workaround to convince the server that you’re sending emails through it, even though you plan to use Gmail’s SMTP server.
This might seem strange because you’re not using your server for emails. It basically tricks your server into believing you’re sending the email through the server.
From your cPanel account, let’s go to the MX Records and change the MX routing from automatic to remote. Do note that this might be a little tricky to find since each host now has a custom cPanel interface.
Then, you’ll need to look for a small link next to MX that says ‘Email Routing: Remote Mail Exchanger.’
After that, you can log back into your WordPress site and send a test email.
Last updated